
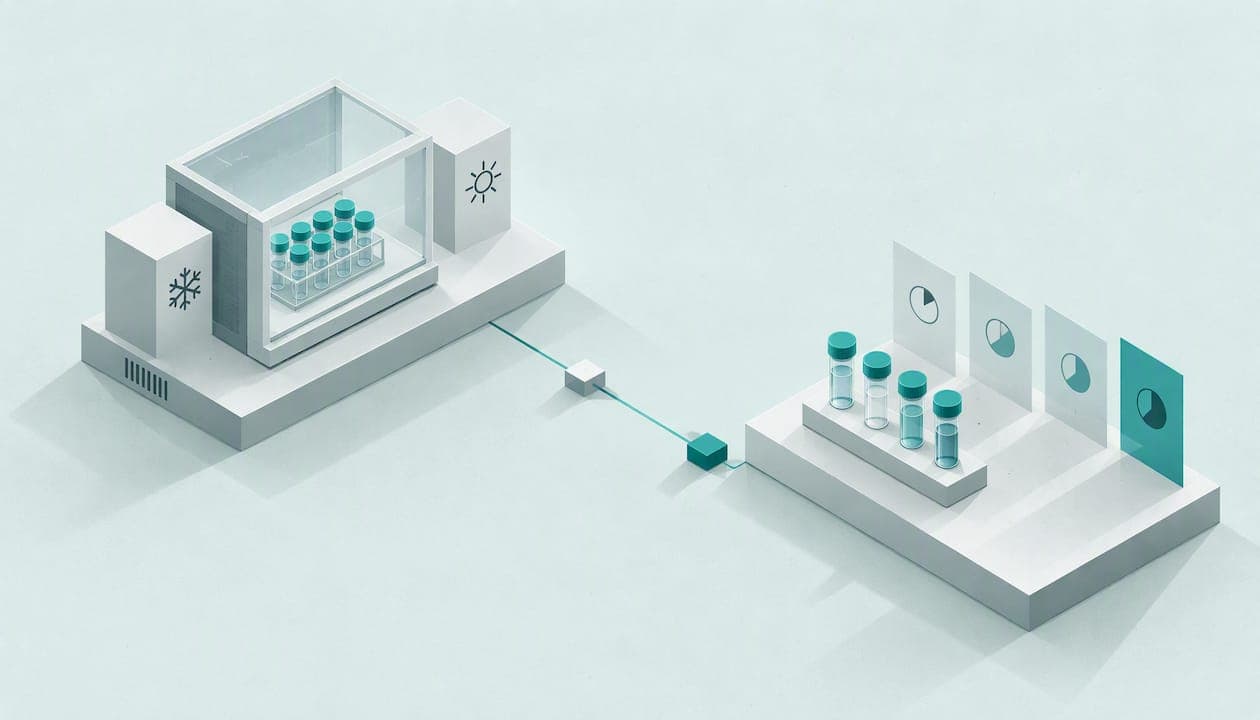
Peptide stability testing measures how a peptide's identity, purity and content change over time under defined conditions. You use it to set a sensible shelf life, find out how the molecule breaks down and decide which storage and handling rules your lab needs. A sound study combines stress (forced degradation) work, real-time sampling, at least two orthogonal analytical methods, well-characterised controls and a written record of every condition.
This guide walks through how to plan that study for research peptides, from the chemistry that drives instability to the way you document results. It is written for laboratory use only. The peptides we supply are for research, not for human or veterinary consumption.
TL;DR
- Stability testing tracks identity, purity and content over time, so you can set storage limits and understand degradation pathways.
- Sequence drives risk: composition and length decide whether oxidation, hydrolysis, deamidation or aggregation is the main threat.
- Use forced degradation to find the pathways quickly, then real-time studies to confirm shelf life under your actual storage conditions.
- Run at least two orthogonal methods (typically HPLC-MS plus amino acid analysis or UV) and validate them before you trust the trend.
- Record conditions, time points, controls, lot numbers and handling steps so another scientist can reproduce the result.
Table of Contents
- What peptide stability testing actually measures
- Why sequence and length decide your test plan
- Degradation pathways and the conditions that trigger them
- Forced degradation versus real-time studies
- Analytical methods: use two that disagree usefully
- Controls, time points and method validation
- Storage conditions to build into the study
- Interpreting and documenting results
- Start your study from a documented baseline
- FAQ
- Sources
What peptide stability testing actually measures
A stability study asks one question repeatedly: is the material in the vial still what the label says? The European Medicines Agency's guideline on synthetic peptides frames this as monitoring integrity and purity over time under specific conditions, which establishes shelf life and reveals degradation pathways. The guideline is written for medicinal products, but the logic transfers directly to a research lab that needs trustworthy material for an assay.
In practice you track three things:
- Identity: does the mass and retention behaviour still match the intended sequence?
- Purity: has the main peak shrunk, and have new impurity peaks appeared?
- Content: how much peptide is actually present per milligram of powder or per millilitre of solution?
Content matters more than people expect. A peptide can look 99% pure by chromatography and still deliver less active material than you assumed, because water, counter-ions and salts make up part of the weight. Purified peptides are typically analysed by amino acid analysis to determine net peptide content, as described in the Hoofnagle et al. recommendations for generating, quantifying and storing peptide standards. If you only watch HPLC area percentages, a slow loss of content through adsorption or moisture uptake can go unnoticed.
For a deeper look at how long different research peptides last and why, see our guide to peptide stability.
Why sequence and length decide your test plan
No two peptides fail in the same way, so a generic protocol is a starting point, never the finish. The EMA guideline says potential degradation pathways, including oxidation, hydrolysis, isomerisation, deamidation, cyclic imide formation and disulfide exchange, should be assessed by looking at the specific amino acid composition and sequence of the peptide.
A quick way to turn that into a plan is to read the sequence and flag the vulnerable positions:
| Feature in the sequence | Likely concern | What to watch for |
|---|---|---|
| Methionine, cysteine, tryptophan | Oxidation | Mass increases, new earlier-eluting peaks |
| Asparagine, especially next to glycine | Deamidation, isomerisation | Small mass shift, closely eluting impurity |
| Aspartic acid | Hydrolysis, cyclic imide formation | Fragments, isomer peaks |
| Two or more cysteines | Disulfide exchange, dimerisation | Higher-mass species, retention shifts |
| Hydrophobic stretches | Aggregation, adsorption | Loss of recovery, cloudiness, concentration drift |
The mapping above is a working heuristic built from the pathways the EMA lists, not a prediction of rate. Physical properties matter too. Hydrophobicity, net charge and chain length shape how a peptide behaves, and academic work on bioactive peptides, such as this 2022 review of structural properties, points to hydrophobicity, charge, length and residues such as histidine and proline as influences on stability.
Length has a practical effect on your baseline. Longer sequences are harder to synthesise cleanly, so the starting material carries more related impurities, and your method has to separate those from genuine degradants. Always characterise the time-zero sample thoroughly before you interpret anything that follows. Our article on peptide aggregation covers the physical side in more detail.
Degradation pathways and the conditions that trigger them
The academic literature splits instability into two families. Nugrahadi et al. (2023) describe chemical pathways such as oxidation, hydrolysis, deamidation and β-elimination, and physical pathways such as adsorption, aggregation and precipitation. Your study should be able to see both.
The EMA guideline adds the environmental factors worth testing: temperature, pH, light exposure, humidity, and the presence of metal ions or oxidising agents. For a research lab this translates into a short list of variables you can control:
- Temperature: the freezer, fridge and bench conditions your team actually uses.
- pH and buffer: the solution you will reconstitute into, not an idealised one.
- Light: clear versus amber vials, bench lighting during handling.
- Humidity and moisture: how often a lyophilised vial is opened and how long it sits at room temperature before opening.
- Trace metals and oxidants: reagent grade, water quality, headspace gas.
Formulation choices can reduce risk. Nugrahadi and colleagues highlight pH optimisation and the use of metal chelators or free radical scavengers to limit oxidation and hydrolysis in aqueous solutions. If you are comparing buffers, test them side by side with the same peptide lot rather than relying on a recommendation written for a different sequence. Our notes on lyophilisation excipients explain what common additives do in the dry state.
Stability also bears on interpretation. Elsayed et al. (2025) note that aggregation, often driven by chemical degradation such as oxidation and deamidation, can produce irreversible non-native structures. In a research setting the practical consequence is simpler: degraded or aggregated material can give you an assay result that reflects the contaminant, not the peptide.
Forced degradation versus real-time studies
These two study types answer different questions, and a good plan uses both.
Forced degradation (stress testing) deliberately exposes the peptide to conditions harsher than normal handling so you can see how it breaks down quickly. Its job is to reveal degradation pathways and to prove your analytical method can actually detect the products. In the ACTY116 work, for example, researchers showed that oxidative and hydrolytic stress produced new degradation impurities compared with control samples. That is exactly the outcome you want: peaks that did not exist at time zero, now identified and separated.
A typical stress panel includes:
- acidic and basic solutions (hydrolysis, deamidation)
- an oxidant such as dilute hydrogen peroxide (oxidation)
- elevated temperature, for solid and solution states
- light exposure
- freeze and thaw cycling, where relevant
Keep stress mild enough to degrade a fraction of the peptide, not all of it. If the main peak is gone, you have learned little about the early, realistic degradants.
Real-time studies hold the peptide under the conditions you actually intend to use and sample it on a schedule. They tell you how much time you have before purity or content drifts outside your acceptance limits. They are slow, which is why the forced work comes first: it tells you what to look for.
Elsayed et al. also note that stress studies should consider container and packaging materials, because these are part of identifying degradation products and validating methods. Vial glass, stoppers and closures can adsorb peptide or leach contaminants, so test in the container you will really use. Our guide to peptide storage containers covers the practical options.

Analytical methods: use two that disagree usefully
No single technique sees everything. The EMA guideline recommends at least two orthogonal methods for identification and purity monitoring, for example mass spectrometry with relative retention time, or peptide mapping. In everyday terms, HPLC-MS gives you purity, retention time and mass in one run, while amino acid analysis and UV absorbance help you quantify concentration and spot changes in composition.
Here is how the main tools divide the work:
| Method | What it tells you | Typical blind spot |
|---|---|---|
| RP-HPLC with UV | Purity profile, impurity peaks, retention shift | Co-eluting species look like one peak |
| LC-MS | Mass of each peak, so oxidation or deamidation can be assigned | Quantification is less direct than UV |
| Amino acid analysis | Net peptide content, composition | Does not show which impurity formed |
| UV absorbance | Quick concentration check | Needs a chromophore and a clean sample |
If you want to see what independent testing data looks like when applied to purity claims, this overview of peptide purity lab results shows how analytical figures can be compared across products. On the supplier side, our guide to reading a peptide certificate of analysis explains which lines on a CoA matter for your time-zero baseline.
Choice of chromatography platform affects how well you resolve closely related impurities. Our comparison of HPLC and UPLC sets out the trade-offs, and the note on HPLC calibration peptides helps you check that the instrument itself is not the source of drift.
Controls, time points and method validation
A stability result is only as good as its comparison. The EMA guideline's approach is to use well-characterised control samples, for example an unmodified version when you are testing a modified peptide, and to pick sampling time points that capture both short excursions and long-term storage.
Choosing time points
There is no universal schedule, but a workable pattern for a research study looks like this:
- Time zero: full characterisation, your baseline for identity, purity and content.
- Short-term points: hours to days, to cover the realistic excursions, such as a vial left on the bench or a solution kept in the fridge over a week.
- Long-term points: weeks to months at the intended storage temperature, with the interval set by how fast your forced degradation work suggests the peptide changes.
Match the points to your real use. If a reconstituted solution is used within three days, sampling it at six months tells you nothing useful.
Validating the method
The method has to be fit for the question. The EMA guideline stresses that procedures from sample preparation through quantification must be robust and capable of detecting degradation without introducing artefacts of their own. The Global Bioanalysis Consortium's best-practice recommendations add that stability assessment during validation confirms the suitability of conditions such as bench-top storage and repeated freeze and thaw cycles, tailored to the study's needs.
Watch for handling artefacts in particular. Hoofnagle et al. recommend adding peptide directly into the diluent rather than onto tube walls, and using a fresh pipette tip for every dilution, to limit non-specific adsorption and keep concentrations accurate. Standardise these steps in a written procedure, because the EMA also emphasises minimising variability through standard handling. Our peptide handling guidelines for UK research labs and solubility guide are useful templates for that procedure.
Storage conditions to build into the study
Storage is both what you test and what you control. For long-term storage, Hoofnagle et al. state that dry peptide powder can be kept at −20°C or below. Treat that as the dry-state baseline, and then test the conditions your lab actually deviates into, such as defrosting, weighing at room temperature and re-sealing.
A few habits make the data cleaner:
- Let a cold vial reach room temperature before opening, so condensation does not wet the powder.
- Aliquot solutions so that no vial goes through repeated freeze and thaw cycles, unless that is the variable you are testing.
- Record the headspace and closure type, since oxygen exposure affects oxidation-prone sequences.
For the full storage routine, see our lyophilised peptide storage guide.
Interpreting and documenting results
A chromatogram on its own is not a stability conclusion. To make the result usable by someone else, and by you in a year, write down the following for every study:
- Material: peptide name, sequence, lot number, supplier CoA and your own time-zero data.
- Conditions: temperature, humidity, light, container, closure, solvent, pH and buffer.
- Schedule: every sampling point with the actual date, not the planned one.
- Methods: column, gradient, detector settings, MS mode, validation summary and system suitability.
- Results: purity and content against time zero, identified degradants and any change in appearance or solubility.
- Decision: the acceptance limit you set in advance, and whether the peptide met it.
Set acceptance limits before you look at the data. Deciding afterwards what counts as acceptable is the quickest way to fool yourself. When a new peak appears, assign it with the mass data where possible, for example a mass increase consistent with oxidation, rather than recording it as an unknown. Plot purity and content against time, and note whether the loss looks gradual, which suggests steady chemistry, or abrupt, which often points to a handling event such as moisture ingress or a freeze-thaw cycle.
Finally, report limits honestly. A study at one temperature in one container supports a claim about that temperature and that container. It does not extend to other sequences, other lots or other solvents without further testing.
Our perspective
Most stability problems we see discussed in labs start before the first sample is pulled: the baseline was never properly characterised. That is why we put the emphasis on verification. Our research peptides are supplied at 99%+ HPLC purity, with a Certificate of Analysis, so your time-zero comparison starts from documented figures instead of an assumption.
We also think the two-method habit is the right one. A purity number tells you one thing, and identity and content tell you the rest. Our quality controls and verification processes are built around giving scientists the detail they need to design a clean study.
Our peptides are supplied strictly for laboratory and scientific research, never for human or veterinary consumption. We would rather you test carefully and trust your data than skip the baseline and wonder later.
Neil
Start your study from a documented baseline
A stability study is easier to defend when the starting material comes with clear paperwork. BioForgeUK supplies research peptides at 99%+ HPLC purity, with detailed certifications including Certificates of Analysis, for scientists, institutions and laboratories, and a secure checkout for laboratory orders.

Browse the range and order for your next study at BioForgeUK. All products are for research use only.
FAQ
How long should a peptide stability study run?
It should run as long as your intended storage or use period, plus a margin. Use short-term points for realistic excursions and longer intervals for storage, and let your forced degradation results suggest how quickly change is likely. A six-month sample says little about a solution you use within a week.
Do I need mass spectrometry, or is HPLC enough?
HPLC alone shows that something changed, but not what. The EMA guideline recommends at least two orthogonal methods, so pairing HPLC with mass spectrometry lets you assign a new peak to a pathway such as oxidation. Amino acid analysis then covers content.
What is the difference between forced degradation and a stability study?
Forced degradation uses harsh conditions to find degradation pathways quickly and prove your method can see the products. A real-time study holds the peptide under the conditions you will actually use and samples it over time. Most plans run the forced work first.
What temperature should I store lyophilised peptides at?
For longer-term storage, dry peptide powder can be kept at −20°C or below, according to published recommendations on peptide standards. Let vials warm to room temperature before opening, and test any deviations your lab regularly makes.
Sources
- EMA: Guideline on the Development and Manufacture of Synthetic Peptides
- Hoofnagle et al.: Recommendations for the generation, quantification, storage and handling of peptides
- Role of structural properties of bioactive peptides in gastrointestinal digestion
- Nugrahadi et al.: Designing Formulation Strategies for Enhanced Stability of Therapeutic Peptides
- Elsayed et al.: Regulatory Guidelines for the Analysis of Therapeutic Peptides and Proteins
- The Development of a Stable Peptide-Loaded Long-Acting Injectable Formulation (ACTY116)
- Global Bioanalysis Consortium: Stability, Recommendation for Best Practices